


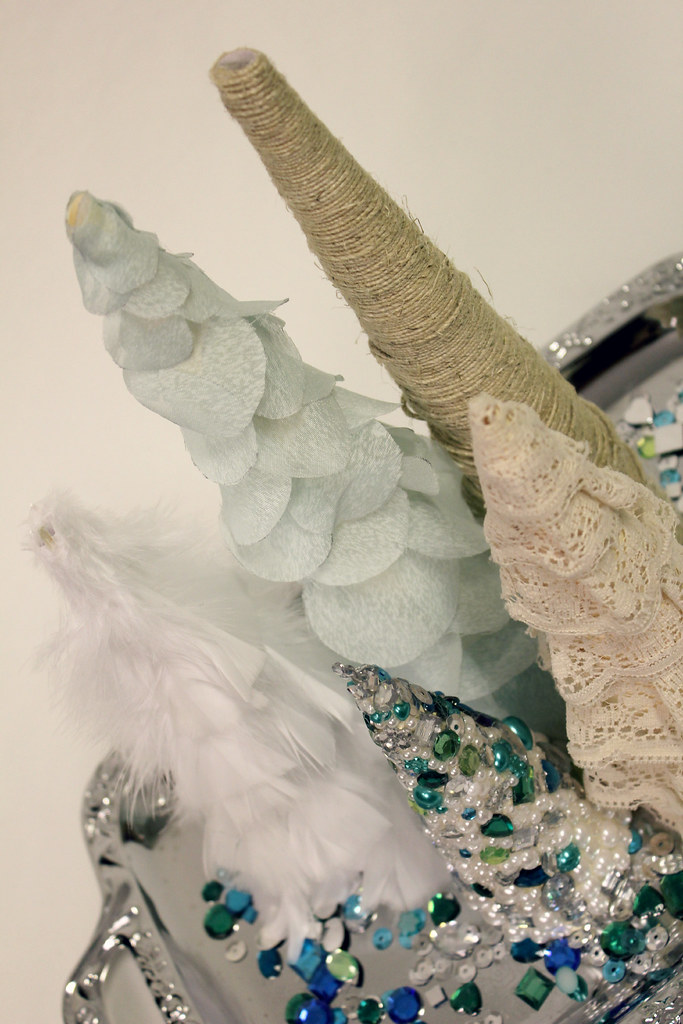
It's time for yet another tree in the fancy forest-the Twine Tree.
Here's what you need:
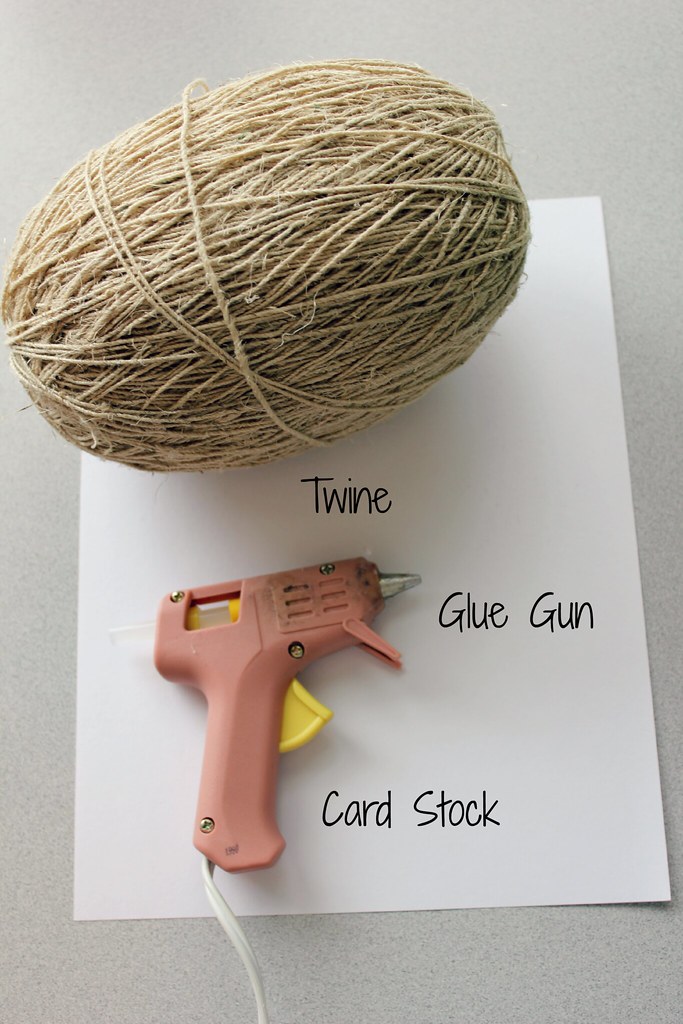
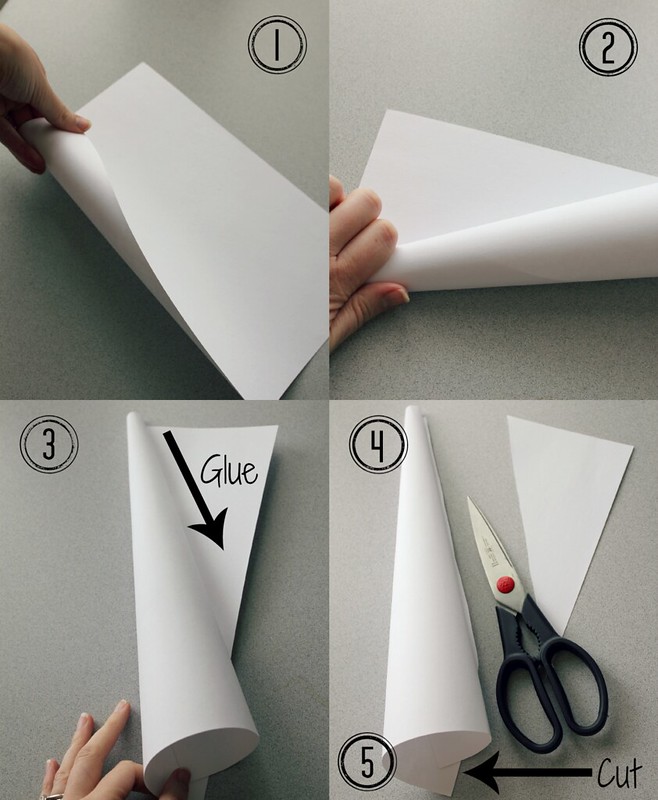
Start off with your cardstock tree base:
1. Start to curl the paper in at a corner
2. Make sure the top is tighter than the bottom, in a cone shape
3. Put a line of hot glue from top to bottom, roll into glue and hold until dry
4. Cut off excess paper, then do another line of glue from top to bottom to secure this seam
5. Cut off excess paper, making sure to cut it on an even surface so it stand properly. This will just be trial and error
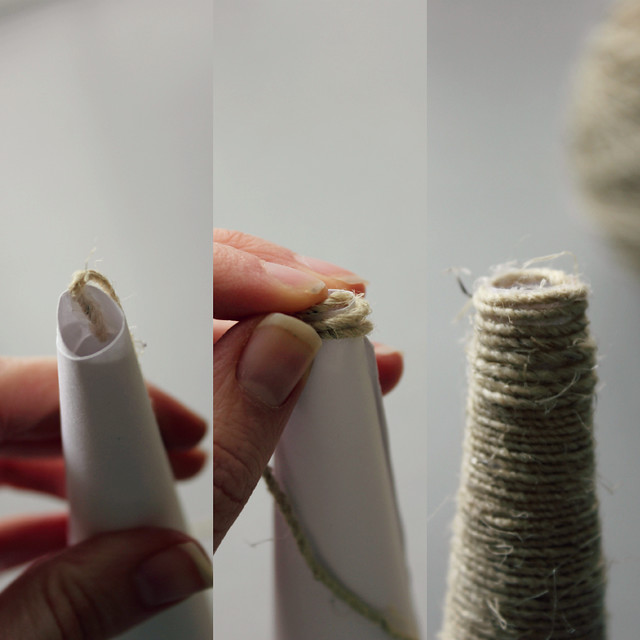
Instructions:
1. Start with the twine on the inside of the tip of the cone.
2. Put a line of glue around the top edge and wrap the twine around.
3. Continue gluing and wrapping twine around tree, covering all the paper.
TIP: Don't wrap TOO tightly, mine ended up getting all warped about halfway down because I was wrapping too tight and it squished the paper!
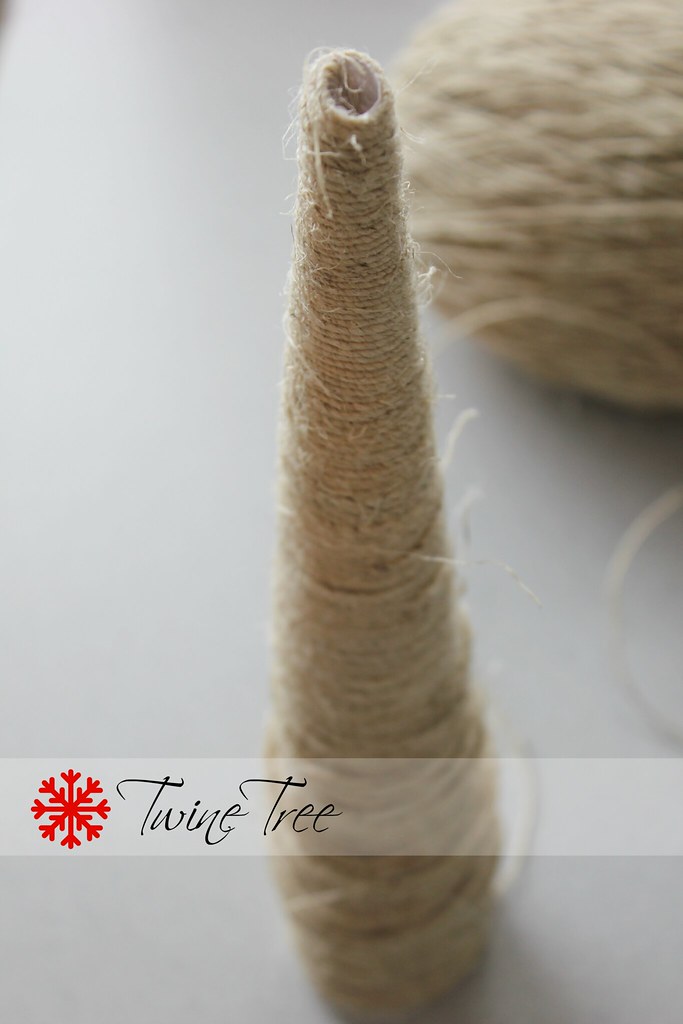
And your twine tree is done!
The last tree in our fancy forest is coming tomorrow!
See parts 1, 2, and 3
This is VERY cute. I also saw a cute DIY the other day gluing pine cones all the way around to the top. (Here is the link: http://wildruffle.com/2012/12/04/diy-christmas-trees/) Super easy and super cute! I always love a good (and easy) craft!
ReplyDelete