Sunday, December 16, 2012

Wore Stories: Eggplant


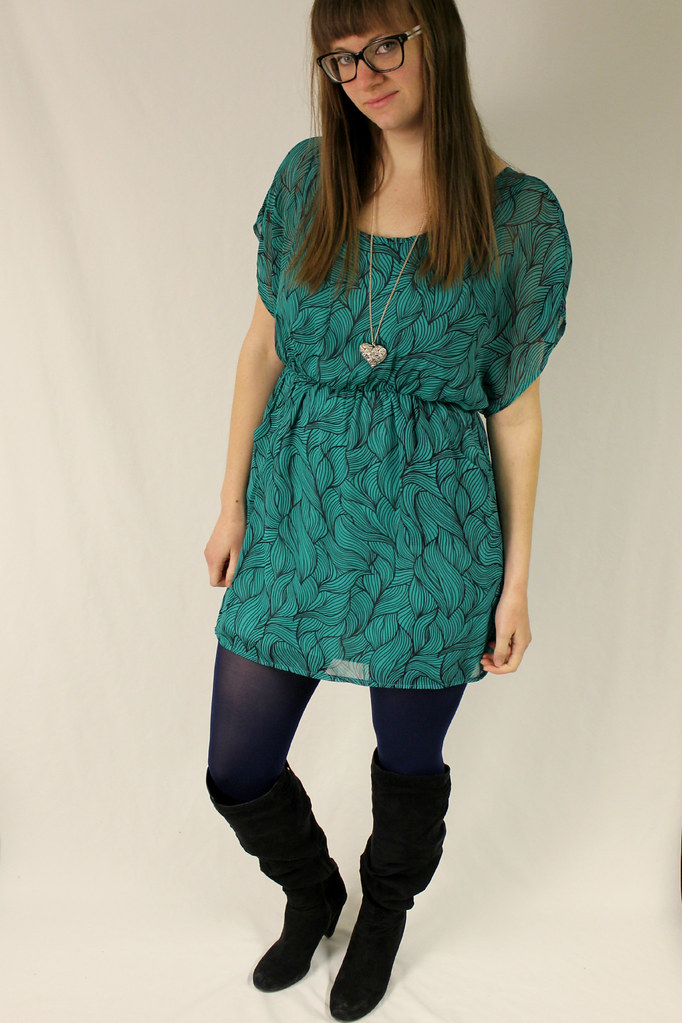
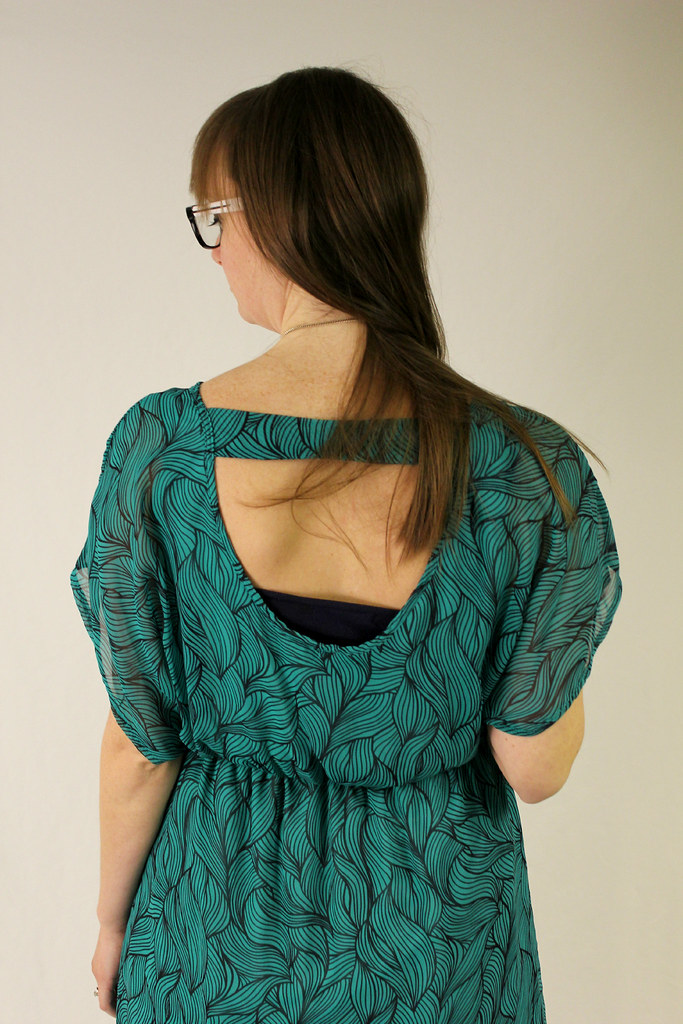
I made this dress a while back when I was first attempting to sew with this fabric, I'd never worn it before, but it seemed the perfect thing for yesterday's family gathering!

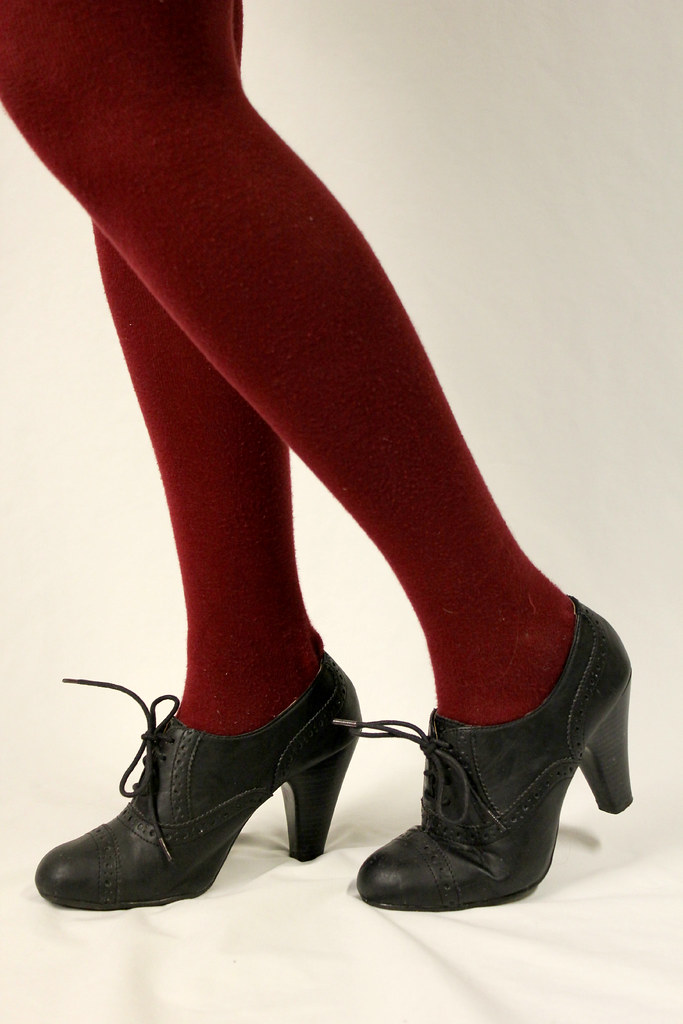
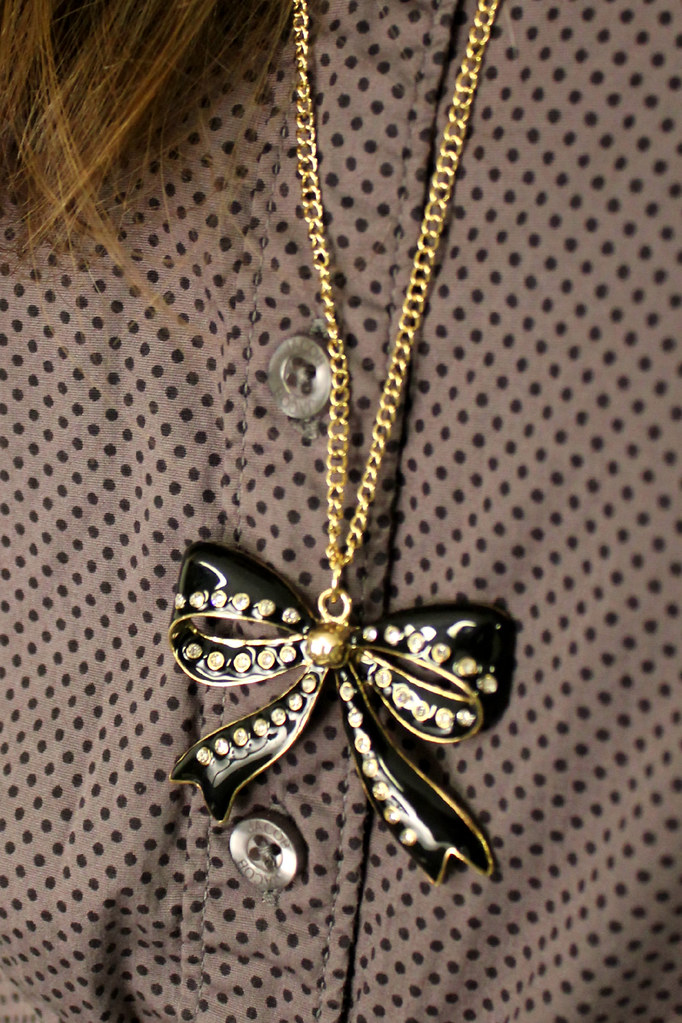
Shoes: George, Tights: ???, Dress: Handmade by Me, Necklace & Belt: F21

9 days until Christmas!!! EEK!

Saturday, December 15, 2012

Wore Stores: Navy Teal


Lately I've been wearing a lot of tights and dresses. For some reason I feel like pants are a hassle in winter, the bunching up in the boots, having to bring shoes along to work...it's so much easier to just wear tights!

Boots: George, Tights: Joe, Dress: Fashionably U, Tank: F21, Necklace: A gift

Friday, December 14, 2012

Guess Who

Anybody recognize this face?


It's Leila from this last cycle of America's Next Top Model!!
 In case you didn't watch it, she was the runner up, and also was sent home earlier in the show but was able to compete in a comeback competition and won!
I don't even know how I found it, but somehow I saw her face and followed a link to Calico's website (which has some CUTE clothes might I add??). I just can't believe the show just finished airing and already I'm seeing her out there!


Great job Leila, you look fantastic!

Thursday, December 13, 2012

Wore Stories: Polka Dots


I've been trying to figure out what to wear to work in Winter because where I work it is HOT HOT HOT! I came across a few blouses I'd thrifted a while ago and I love this one!


shoes-George, Tights-George, Skirt-Joe, Blouse-Thrifted (it's Jacob), Necklace-F21

Wednesday, December 12, 2012

DIY Crafty Christmas: Hot Cocoa Bar


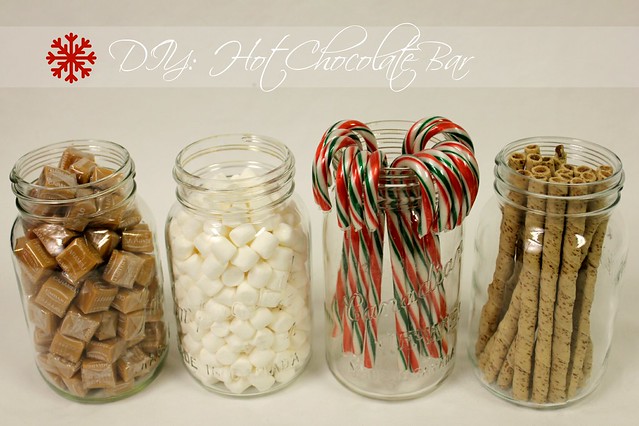
Our final DIY is a Hot Chocolate Bar!! I've never tried one before, and I'm actually only doing this on Friday, but I wanted to share with you my plan!

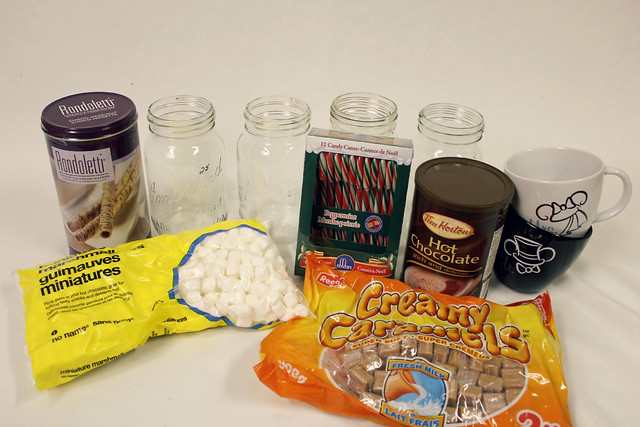
Here's what I'm using:


I took a look at a few other ideas around like this one I found on Pinterest to see what kind of additions I should get for the hot chocolate.

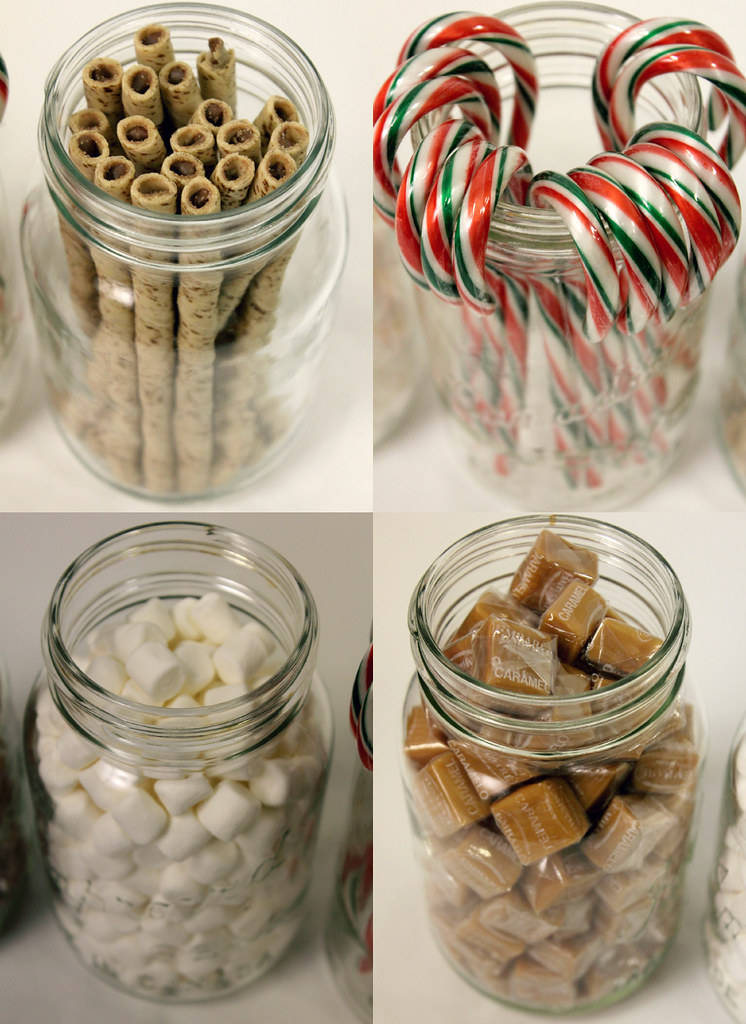
I decided on mini marshmallows, creamy caramels, hazelnut straws and of course my all-time favorite, candy canes!


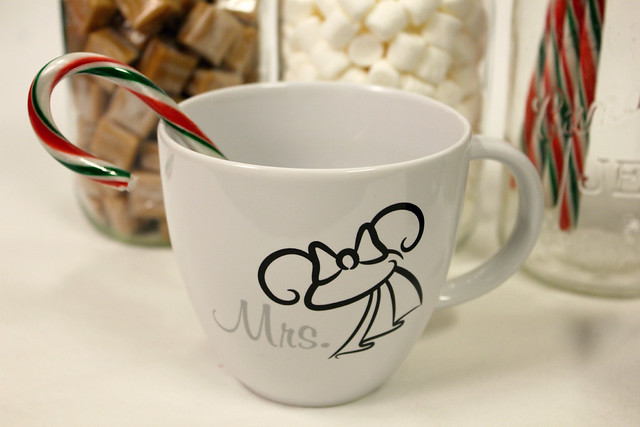
Fill your mug with hot chocolate


Add a few treats, and enjoy!


I hope you've enjoyed my 12 days of Christmas DIY's, here's a list of all of them in case you missed any ;) 
1. Activity Advent Calendar
2. Mistletoe
3. Fancy Forest: Sequin Tree
4. Scalloped Tree Skirt
5. White Chocolate Candy Cane Oreos
6. Fancy Forest: Lace Ruffle Tree
7. Mini Pom Garland
8. Fancy Forest: Petal Tree
9. 3D Snowflake Art
10. Fancy Forest: Twine Tree
11. Fancy Forest: Feather Tree


Tuesday, December 11, 2012

DIY Crafty Christmas: Fancy Forest Pt.5


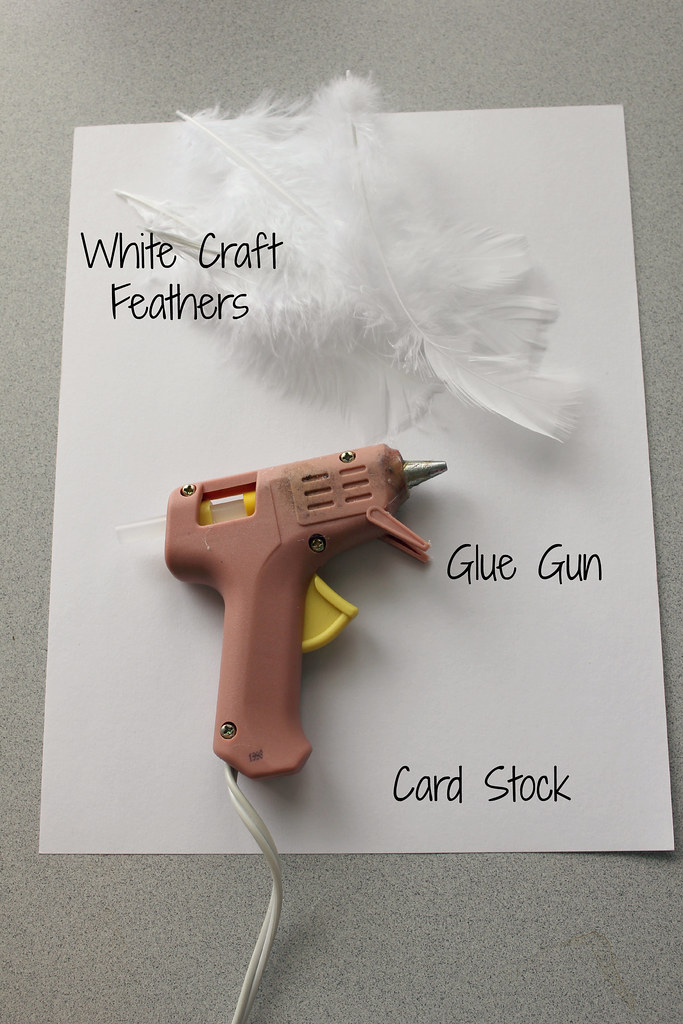
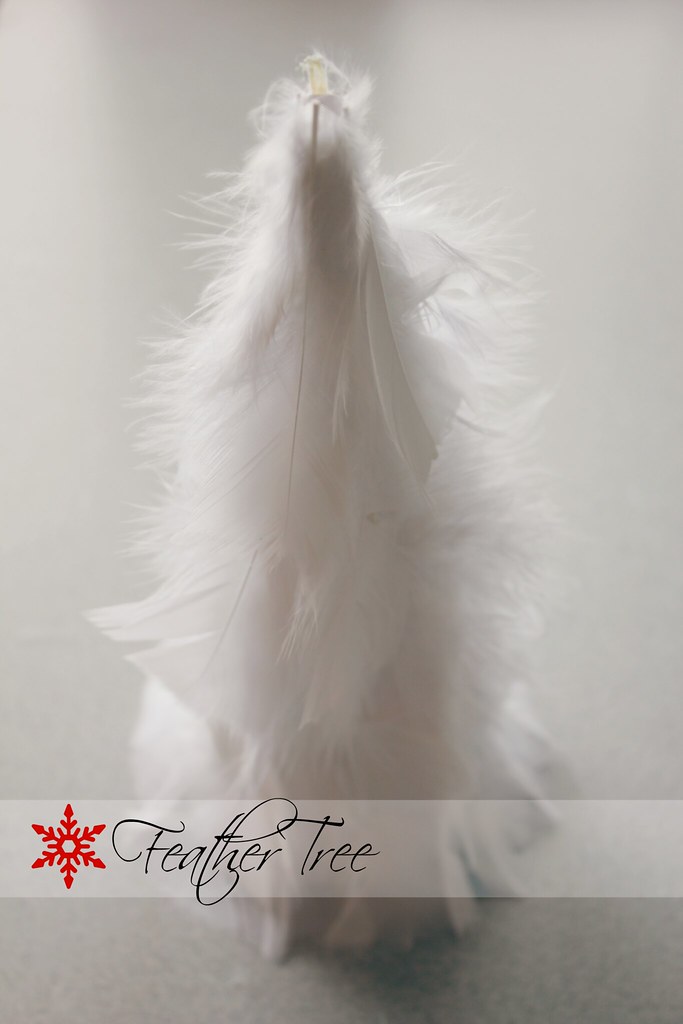
Hello everyone! Today's DIY is a Feather Tree. It didn't turn out quite how I wanted, however in among the other trees, it's a nice addition.

 Here's what you need:


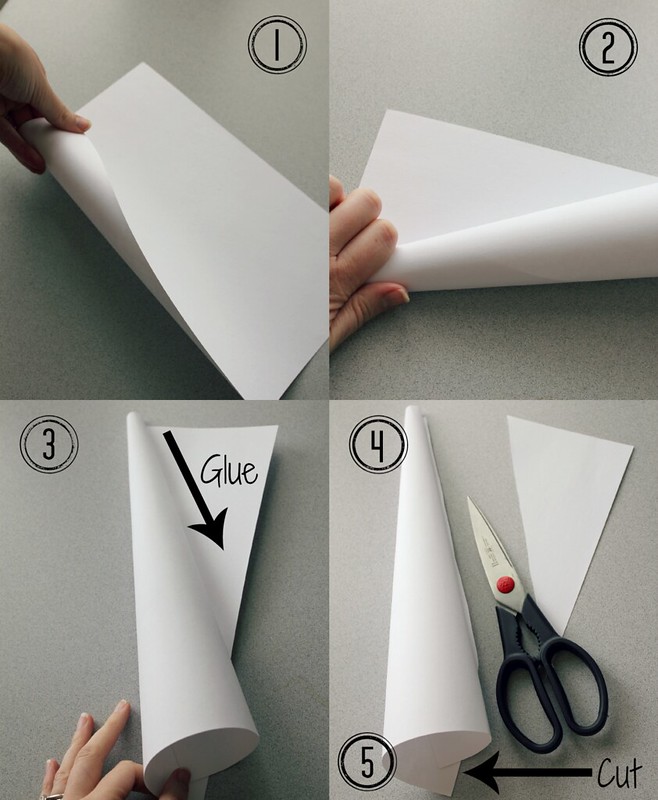
Start off with your cardstock tree base:
1. Start to curl the paper in at a corner
2. Make sure the top is tighter than the bottom, in a cone shape
3. Put a line of hot glue from top to bottom, roll into glue and hold until dry
4. Cut off excess paper, then do another line of glue from top to bottom to secure this seam
5. Cut off excess paper, making sure to cut it on an even surface so it stand properly. This will just be trial and error.


Instructions:
1. Cut 4 (or more depending on what you want) different lengths of feathers
2. Glue the largest feathers on first, one layer all the way around at about the same height. The ends of the feathers should brush the surface.
3. Continue gluing the different sizes in layers on top of each other until you reach the top.
4. Glue the topmost feathers down a bit to help create a tapered shape at the top.


And there you have the feather tree!


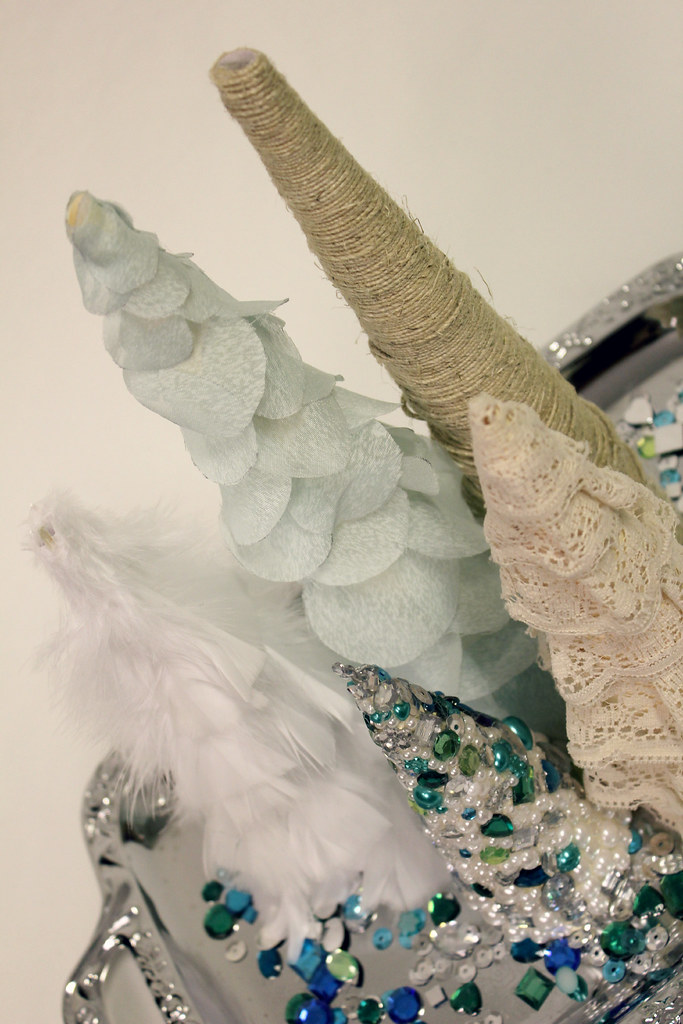
This completes our Fancy Forest! Check out the other tree DIY's here:
Sequin Tree
Lace Ruffle Tree
Petal Tree
Twine Tree

Don't forget to tune in tomorrow for the 12th Crafty Christmas DIY, I'm sharing a cute holiday fashion DIY, some ideas for a hot chocolate bar, you won't want to miss it!  (Holiday fashion DIY coming soon!)

AND don't forget to enter the GIVEAWAY
 

Monday, December 10, 2012

Firmoo Giveaway-CLOSED


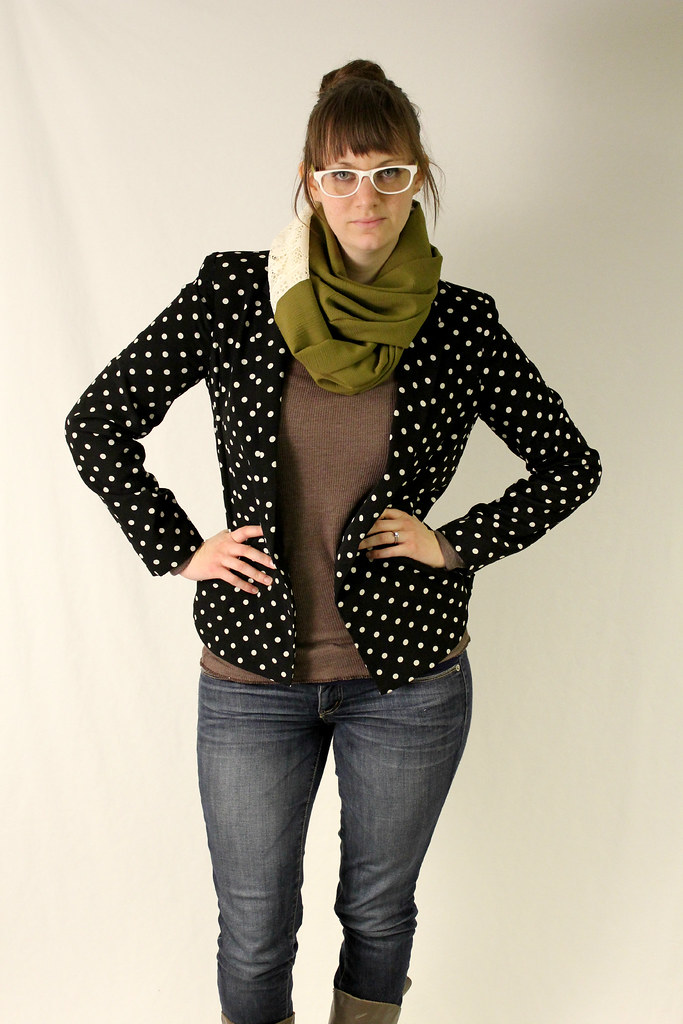
I'm super excited to be working with Firmoo today, to offer 10 lucky winners a $20 voucher! I just received these glasses in the mail, and I love them!


What I like about Firmoo is that they have stylish glasses at affordable prices. If you've worn glasses all your life like I have, you know you can end up using an entire paycheque (or more!) On a pair of glasses, and all you want is something cute and stylish that doesn't cost you your arm AND your leg ;)


Firmoo would like to offer any new customer they're first pair FREE, you only pay shipping!!! This applies to prescription and non-prescription glasses (they provide both). I'm quite happy with this pair, I wanted to try something a little out-there, so I picked these white ones, and I'm not sorry! I'm also really impressed that the 'arms' don't hurt my ears the way others have in the past.

Jeans-American Eagle, Blazer-F21, Long Sleeve Tee-Delias, Scarf-Heidi-and-Seek Boutique, Glasses-c/o Firmoo

To enter to win this giveaway, all you have to do is visit the Firmoo website and leave a comment here!


For an extra entry, you can like Firmoo on Facebook, make sure you leave an additional comment if you do!
The winners will be chosen on Friday, December 14th, and will be announced shortly after.

Some fine print: The voucher takes $20 off any order but does not apply to shipping, discounted glasses or designer glasses. This also applies to the First Pair Free offer. The voucher is expires on Dec.25 at 23:59:59.

Good luck everyone!-GIVEAWAY IS NOW CLOSED.

DIY Crafty Christmas: Fancy Forest Pt.4


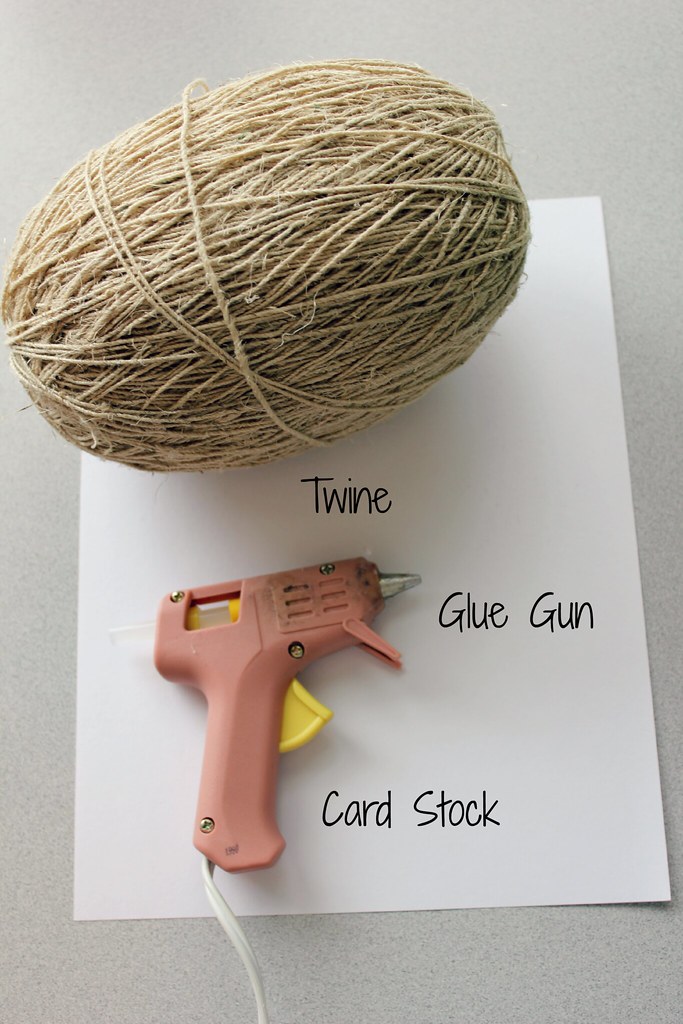
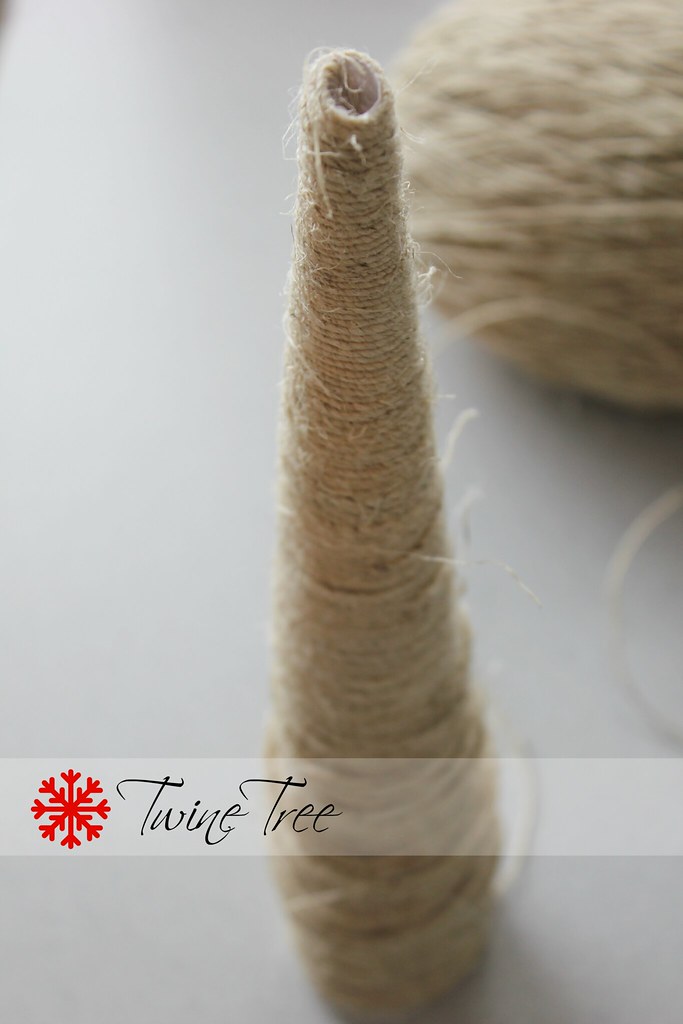
It's time for yet another tree in the fancy forest-the Twine Tree.
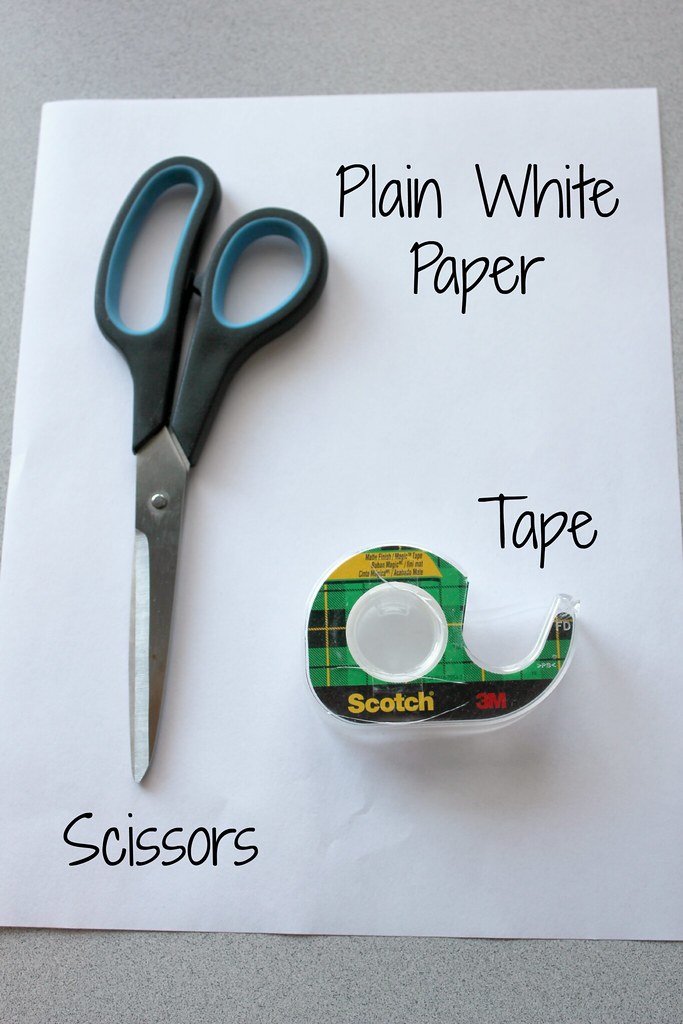
Here's what you need:


Start off with your cardstock tree base:
1. Start to curl the paper in at a corner
2. Make sure the top is tighter than the bottom, in a cone shape
3. Put a line of hot glue from top to bottom, roll into glue and hold until dry
4. Cut off excess paper, then do another line of glue from top to bottom to secure this seam
5. Cut off excess paper, making sure to cut it on an even surface so it stand properly. This will just be trial and error


Instructions:
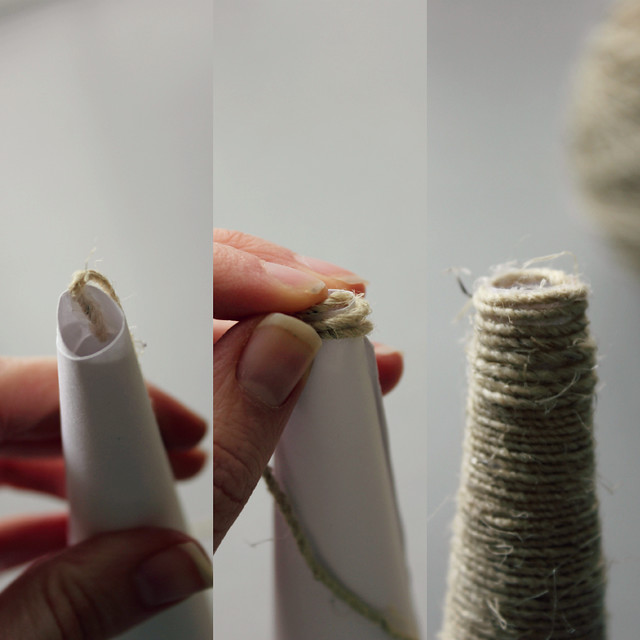
1. Start with the twine on the inside of the tip of the cone.
2. Put a line of glue around the top edge and wrap the twine around.
3. Continue gluing and wrapping twine around tree, covering all the paper.

TIP: Don't wrap TOO tightly, mine ended up getting all warped about halfway down because I was wrapping too tight and it squished the paper!


And your twine tree is done!


The last tree in our fancy forest is coming tomorrow!


See parts 1, 2, and 3

Sunday, December 9, 2012

DIY Crafty Christmas: 3D Snowflake Art


We're on Day 9 of DIY Crafty Christmas!! Only 3 to go! Today's DIY is Snowflake Art!
We had one wall that was looking sad and lonely in our living room, and these snowflakes are a nice addition to our Christmas decor :)

Here's what you need:


Here's what you do:
1. Fold the top corner to the opposite side of the paper (see photo)
2. Cut off excess paper, if you unfold it at this point you should have a perfect square.
3. Fold in a triangle again
4. Making sure the folded edge is on your left hand side, vertical, cut 3 lines starting from the bottom right corner. All the lines should reach the same point on the left, but make sure not to cut all the way through!


And then:
1. Once you've unfolded the square, bring the two middle pieces together to form a tube, and tape (or glue) together.
2. Flip the square over
3. Take the next layer out from the middle, and bring the pieces into a tube, tape together.
4. Flip the square over again and repeat
5. Flip the square over again and tape your final tube
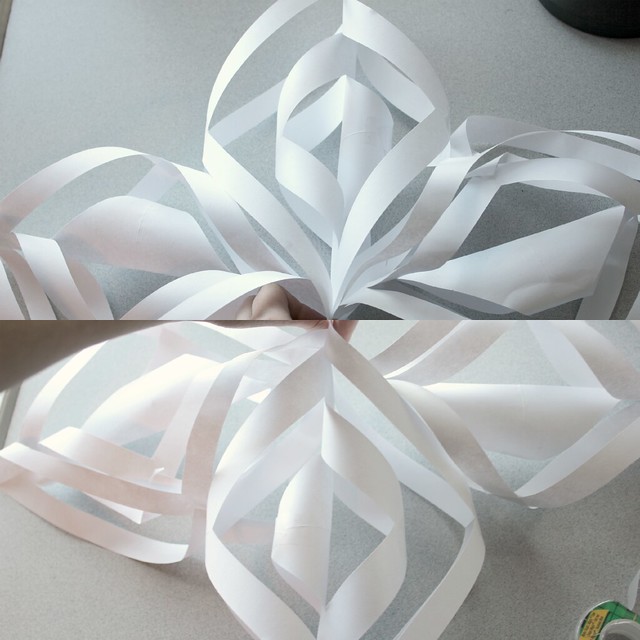
6. This is what the finished piece should look like. This is one piece, you will need 6 of these to create 1 whole snowflake. Don't worry, once you get the hang of it, it's quite simple :)


Once you have all 6 pieces, attach 3 pieces together (I used a stapler) at the ends. Do the same with the last three, and then grab both ends and staple both pieces together.


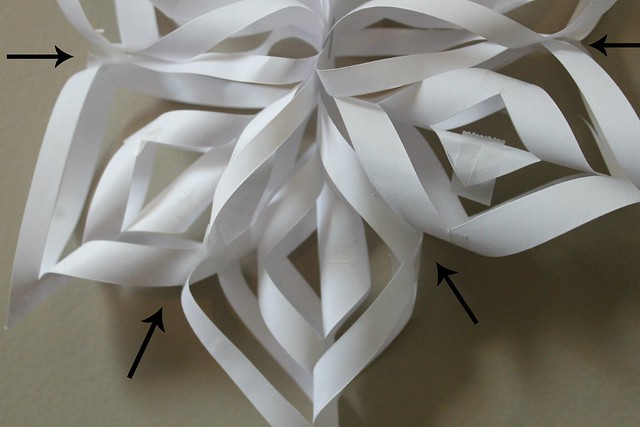
Now you'll want to tape (or glue) the edges together so that they don't hang funny (see arrows)


My inspiration for this wall art was from this trend you may have seen around, the 3D butterfly wall art. It's a neat way to add a pop to an empty wall.


PS....2 weeks 'til Christmas!!!! ;)