

We're on Day 9 of DIY Crafty Christmas!! Only 3 to go! Today's DIY is Snowflake Art!
We had one wall that was looking sad and lonely in our living room, and these snowflakes are a nice addition to our Christmas decor :)
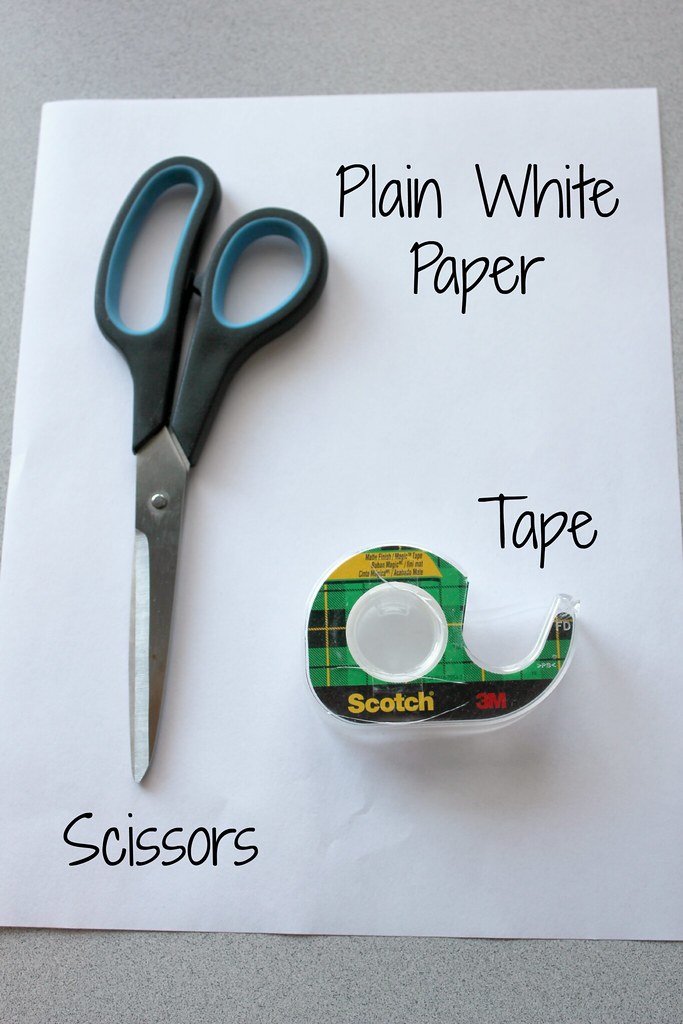
Here's what you need:
Here's what you do:
1. Fold the top corner to the opposite side of the paper (see photo)
2. Cut off excess paper, if you unfold it at this point you should have a perfect square.
3. Fold in a triangle again
4. Making sure the folded edge is on your left hand side, vertical, cut 3 lines starting from the bottom right corner. All the lines should reach the same point on the left, but make sure not to cut all the way through!

And then:
1. Once you've unfolded the square, bring the two middle pieces together to form a tube, and tape (or glue) together.
2. Flip the square over
3. Take the next layer out from the middle, and bring the pieces into a tube, tape together.
4. Flip the square over again and repeat
5. Flip the square over again and tape your final tube
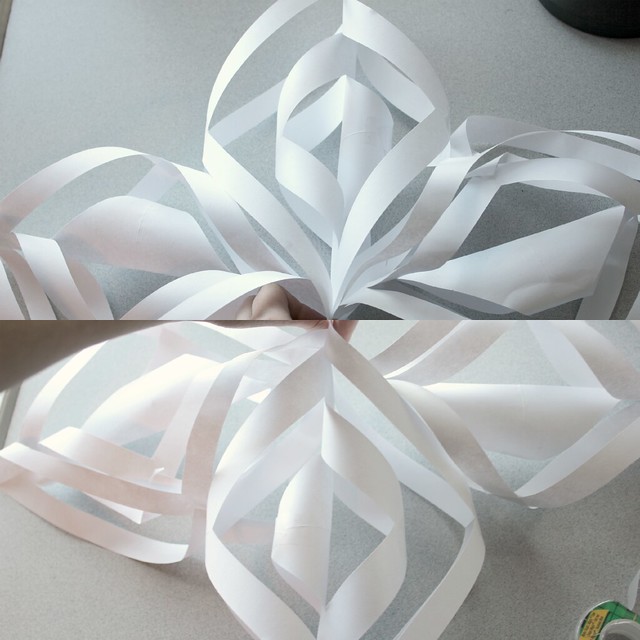
6. This is what the finished piece should look like. This is one piece, you will need 6 of these to create 1 whole snowflake. Don't worry, once you get the hang of it, it's quite simple :)

Once you have all 6 pieces, attach 3 pieces together (I used a stapler) at the ends. Do the same with the last three, and then grab both ends and staple both pieces together.
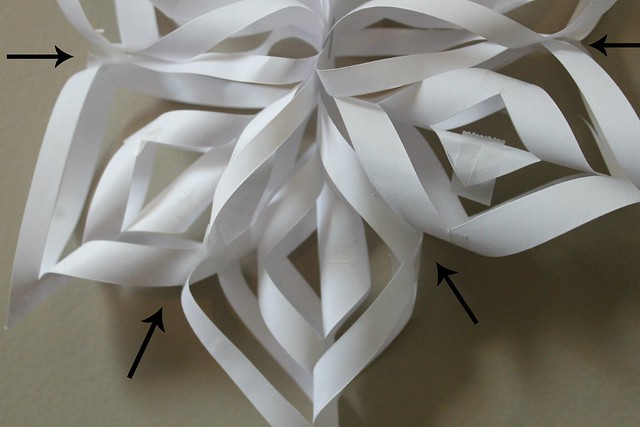
Now you'll want to tape (or glue) the edges together so that they don't hang funny (see arrows)
My inspiration for this wall art was from this trend you may have seen around, the 3D butterfly wall art. It's a neat way to add a pop to an empty wall.

PS....2 weeks 'til Christmas!!!! ;)

Wow, these look so great! Love how simple it is to make them, too!
ReplyDeleteThis is so cute, i love that you hung them on the wall like that. This is a super cute idea!
ReplyDeleteXo,cb
these are sooooooooooooooo cute. what a fun idea. i couldnt be that patient with scissors though!!!!! x
ReplyDeleteWhat did you use to hang them on the wall??
ReplyDelete