


Tuesday, January 27, 2015

Hours

I recently found that if I split my TO DO list into hourly activities, I will get a lot done in a day.  A few weeks ago I attempted this for the first time and I was very productive!!

HOUR 1: Listed items for Nickels Knittery


HOUR 2: Made myself a new face warmer


HOUR 3: Made banana bread and snowflake muffins


HOUR 4: Design homework


It was a pretty great system, after the hour was up I finished off whatever I was doing and moved to something else on the list.  

I find that if I don't have a plan, I tend to get lazy and feel lost about where I'm at and what I want to get done.  So if you're feeling the same way, try making a list of things you want to achieve and then setting a timer for 1 hour for each activity.  It was a refreshing change and I felt accomplished afterwards.

Hope everyone is having a good weekend!


Saturday, January 24, 2015

Friday Feature: Modani Furniture

I love styling, and therefore I was flattered when Modani invited me to style a living room set for a post on my blog!

I used Polyvore to pick out a number of items from Modani Furniture to feature in this set.


Modani Living Room Style


I love having a lot of neutrals surrounded by a few pops of color throughout and that rug makes me wanna curl up my toes into the softness!

Thanks Modani for letting me share my style!

Saturday, January 3, 2015

Local Love: Nickel's Knittery

Recently I have been asked by a friend to help manage her new Etsy page.  I am thrilled as I am in LOVE with her work and am beyond excited to help her with her imminent success!


Isn't her work beautiful??  Everything is carefully knit by hand and she even makes some of these patterns up herself!  Please click here to check out her shop and more amazing items!  (I have at least 7 or 8 of her pieces and I couldn't part with any!)

Wednesday, December 10, 2014

DIY Crafty Christmas 2014: Christmas Crack


Here's another fun treat for you to try this Christmas-it's super tasty and SUPER fast to whip up (like 15 minutes max fast!) at the last minute for a gathering!

Here's what you need:

Small pot and glass bowl or double boiler, pretzel sticks, white chocolate melts, Christmas M&M's, Cheerios, and Chex Cereal.
Instructions:
1. Add 3 cups of Cheerios and 3 cups of Chex mix into a large mixing bowl.
2. Add 1 cup pretzel sticks and 2-3 Cups of M&M's (If you love candy canes like me, you could also add candy cane bits here if you like!)


3. Boil water in a pot


4. Put 24oz. (1.5lb) of white chocolate melts into a glass bowl or double boiler in the pot and stir them around until they begin to soften


5. Keep stirring until they have all melted into a lovely goo!


6. Once the chocolate is melted, pour it into the cereal mixture and stir to coat entirely!
7. Pour out onto a sheet of waxed paper, and let it sit for at least 4 hours.  I let mine set overnight on the counter and it was perfect the next day.

Here is a video tutorial on how to make this:


Feel free to try any kind of combinations you like to smother in chocolate, and even try other chocolates!  Here I've done the same ingredients with semi sweet chocolate-yum!


Enjoy!  

Monday, December 8, 2014

DIY Crafty Christmas 2014: Reindeer Cupcakes


This is a cute way to christma-tize some cupcakes! Here's what you need:

Cupcake mix (I used a simple devils food mix from the store), icing (I made a chocolate buttercream), nilla wafers, small twist pretzels, brown and red m&m's, small mints, mini chocolate chips

Start with your cupcake


1. Add the Nilla wafer 'nose' base


Dab some icing on the M&M and press it onto the nilla wafer


Add the pretzels first (what I should've done in the video), then the mints!


Dab some icing onto the mini chocolate chips, press onto the mints and voila!  Dasher, Dancer, Prancer and Rudolph all wrapped up in a tasty treat!  Click here for the video tutorial.

PS. Original idea found here


Friday, December 5, 2014

DIY Craft Christmas 2014: Gift Toppers


It's time for another Craft Christmas Tutorial!!  This one was also featured on BT Winnipeg (see video here)

This is a fun way to add some creativity and sparkle to your gifts.  Super easy and fast, only a little bit of mess ;)

Here's what you need:

Wrapping Paper, Scissors, Ribbon, Clothes pins, Ornaments/Baubles, Glitter, Glue Gun

Instructions:
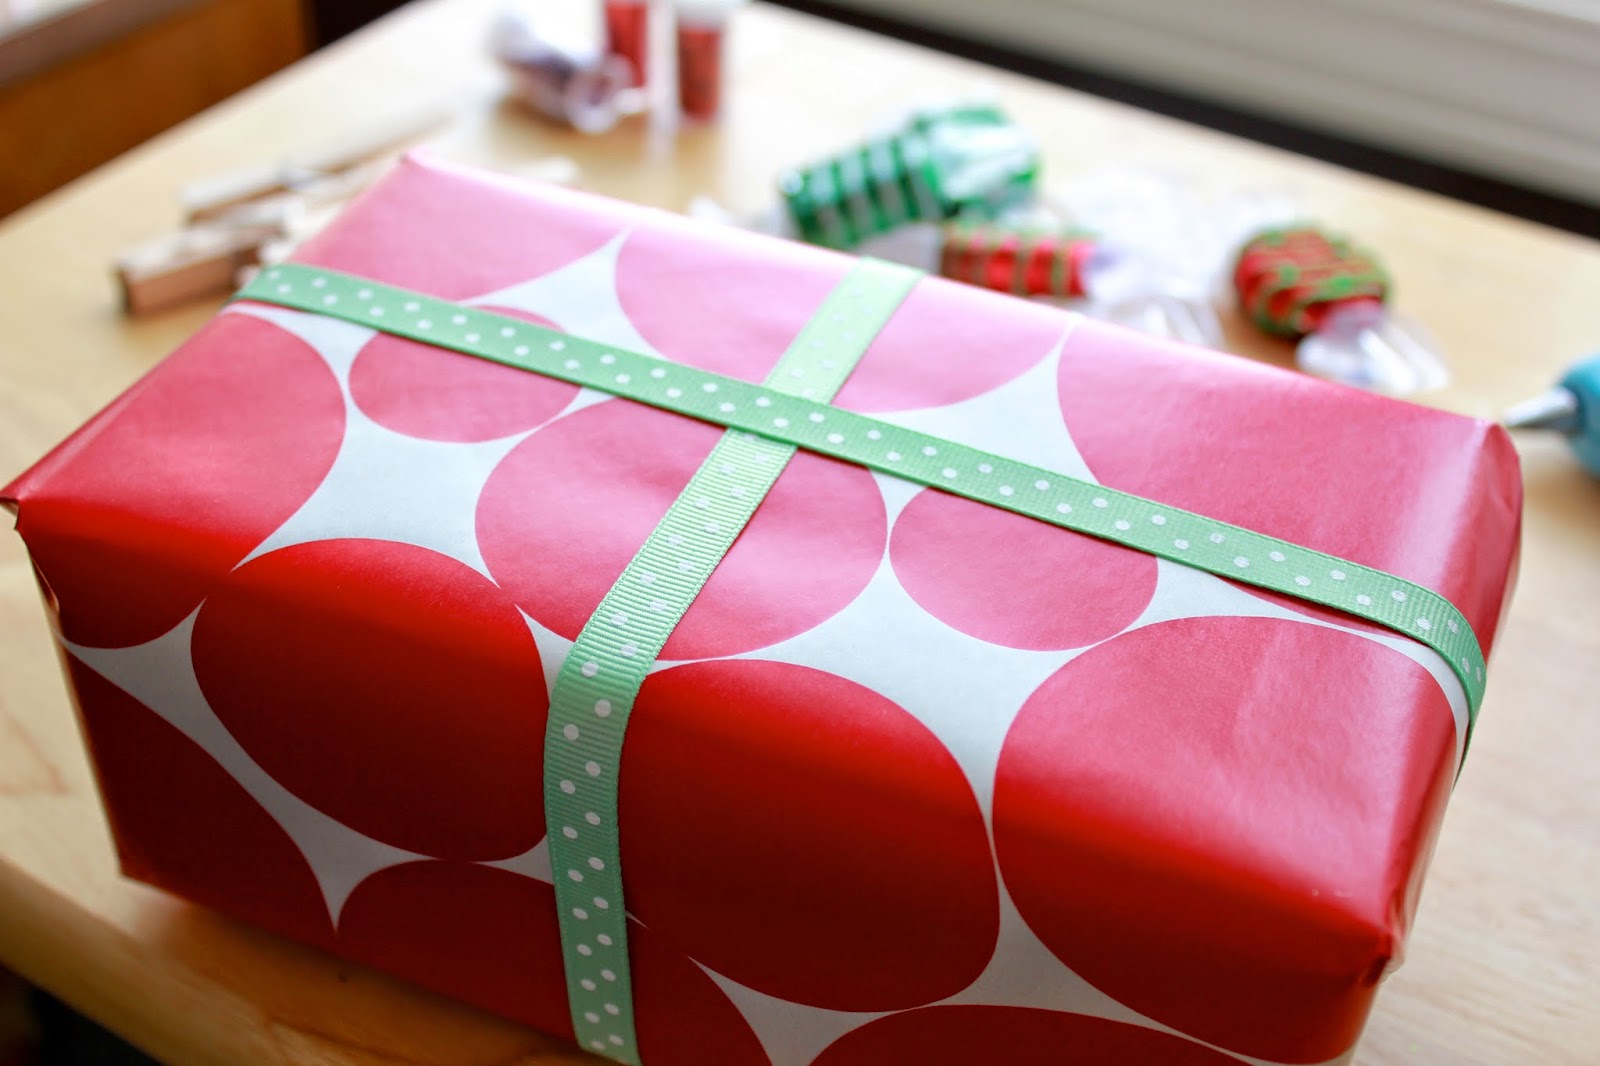
1. Wrap you gift as per usual, if you don't know this ribbon technique, don't worry, I just glued the ends down on the bottom.


2. Apply glue in a thick zig zag fashion, you want it to be covered all the way in every spot on the top so the glitter covers the whole surface area of the top of the clothes pin.


3. Spread the glitter out in a line for easy 'dipping' access.


4. Dip the clothes pin in the glitter, press hard and lift up quickly before the glue sets to the paper!


5. Add glue to the tip of the clothes pin-this is for the topper you are adding.


6. Press topper firmly onto the clothes pin and let the glue set.


Here's the final project ready to go!  I'm excited to add these cute toppers and maybe some special name tags to my gifts this year!


Here's the video tutorial from BT Winnipeg:


Happy Wrapping!

Thursday, December 4, 2014

DIY Crafty Christmas 2014: Gift Card Snow Globe


I've got some fun new tutorials again for you this Holiday season!  This first one is something I shared on Breakfast Television Winnipeg (see video below)!

Here's what you need:

Glitter, glue gun, canning or mason jar, ornaments/baubles, gift card, water

Instructions:
1. Draw a line of glue through the middle of the jar lid
2. Stand the gift card up in the glue, hold and push firmly until the glue has dried
3. Glue ornaments in front of or around the gift card

*TIP: Use smaller ornaments so everything can fit nicely into the jar!! The ones I used in the photos were a bit big, the ones I used in the video were much better.  This will also be dependant on how big your jar is!

3. Add glitter to the jar


4. Add water to the jar


5. Put the gift card lid into the water, and screw the top on


6. Turn upside down and voila-Gift Card Snow Globe!

Tie a ribbon around the bottom to make it extra festive!
Here's the video clip for Breakfast Television where I make this and gift toppers! (Tutorial coming next!)


Happy Gift Giving!!