Showing posts with label diy. Show all posts

Sunday, February 8, 2015

Last Minute Valentine's Day Ideas

Wether you love or hate the day, Valentine's Day is coming up!  I had been planning a few fun things for an episode of Breakfast Television which sadly got cancelled in January!  So, I will share my ideas here with you :) 


All of these items were found through Pinterest!  I for one was really looking forward to the crackers!

Hope you and yours are looking forward to a sweet V-day, Galentine's Day, or hatred of love party (in highschool my friends and I would get together and order heart shaped pizza and watch stupid movies, it was super fun!)

Thursday, February 21, 2013

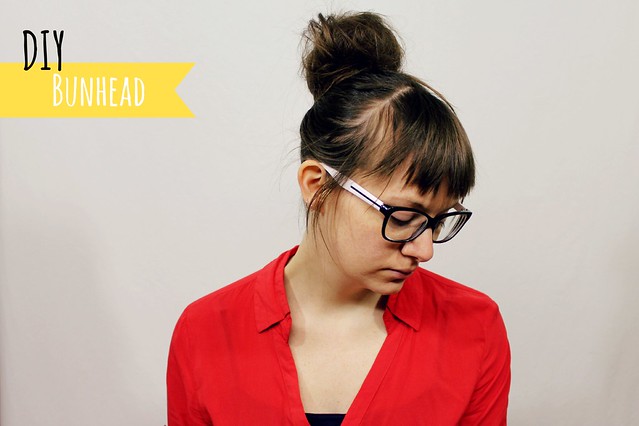
DIY Bunhead


Y'know that sock bun everyone's talking about?  Well here's my version, minus the sock!

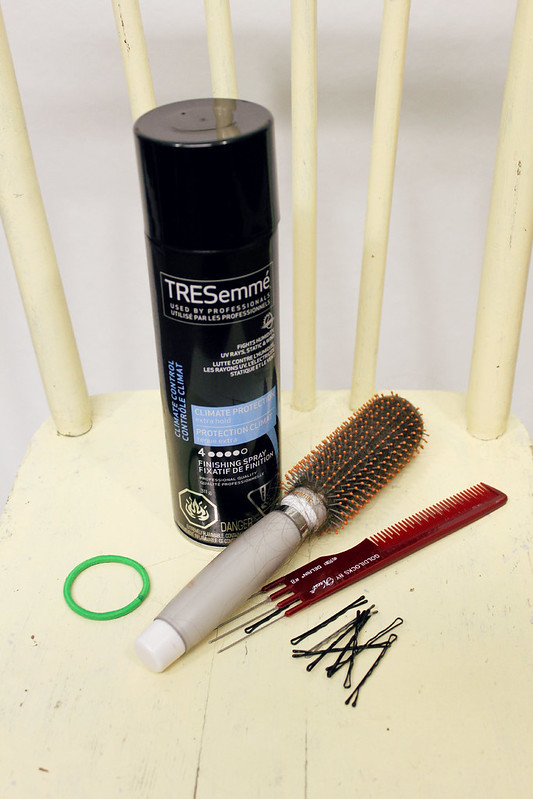
What you need:
Brush, comb, hairspray, hair elastic, bobby pins


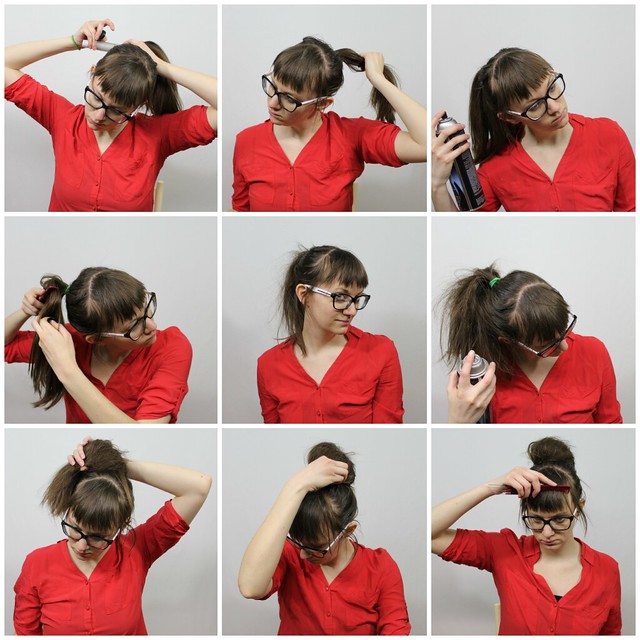
Here's what you do:
1. Put your hair in a high ponytail
2. Hairspray the ponytail to give it texture for back combing
3. Tease your hair from root to tip, giving it volume
4. Hairspray teased hair to help it stay
5. Place hair in a bun shape, pinning around as you go


Voila!


Do you do a regular sock bun, or do you have other secrets for this famous bun?

Monday, February 18, 2013

Project Restyle: Shift Dress


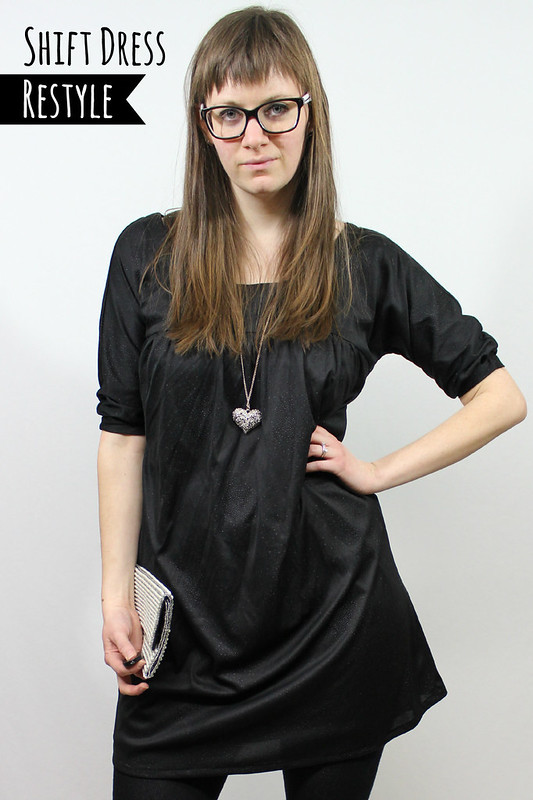
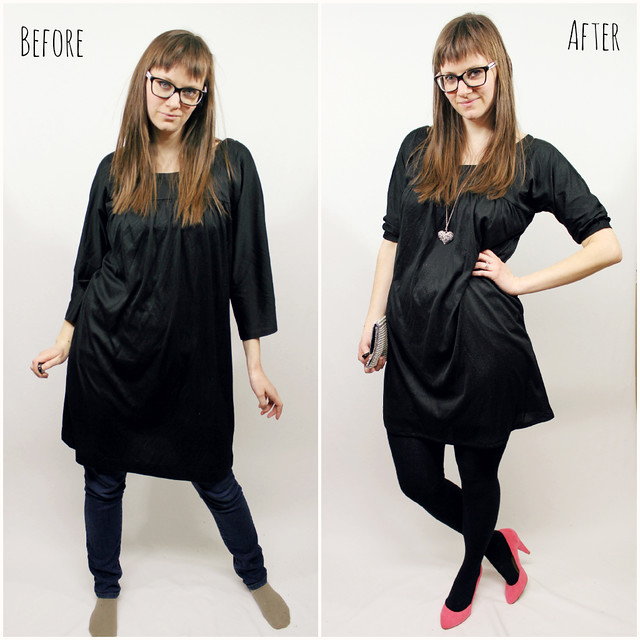
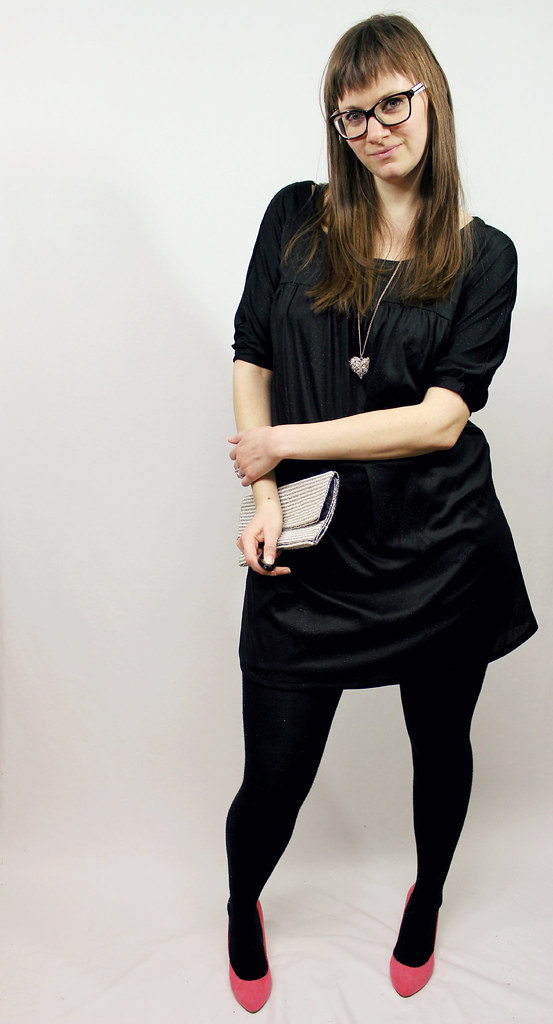
I've got another Project Restyle to share, this week I re-styled a black shift dress.


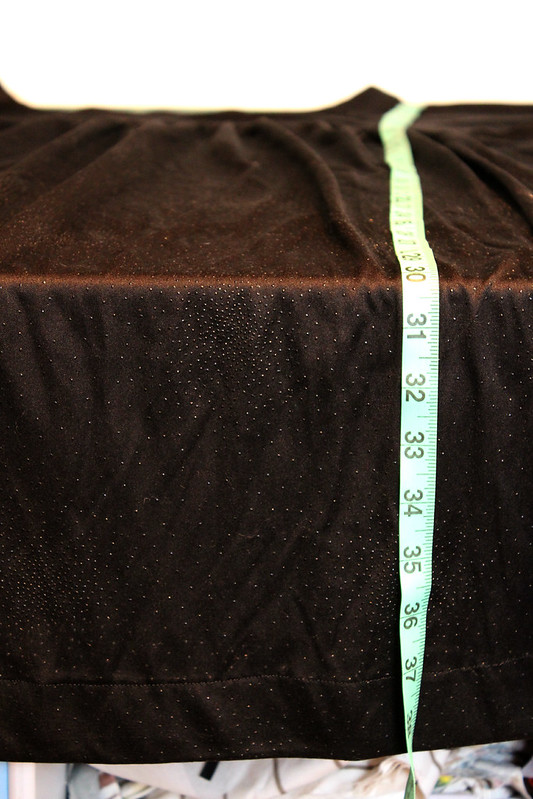
The first thing I did was decide how long I wanted it to be, just like in the Bow Dress Re-style.
I'm 5'8", I like to wear dresses at a total length of 35" from shoulder seam to bottom hem.  So I usually cut it off about an inch longer, to include the hem.


The dress was too long, so here's what you do to shorten it:
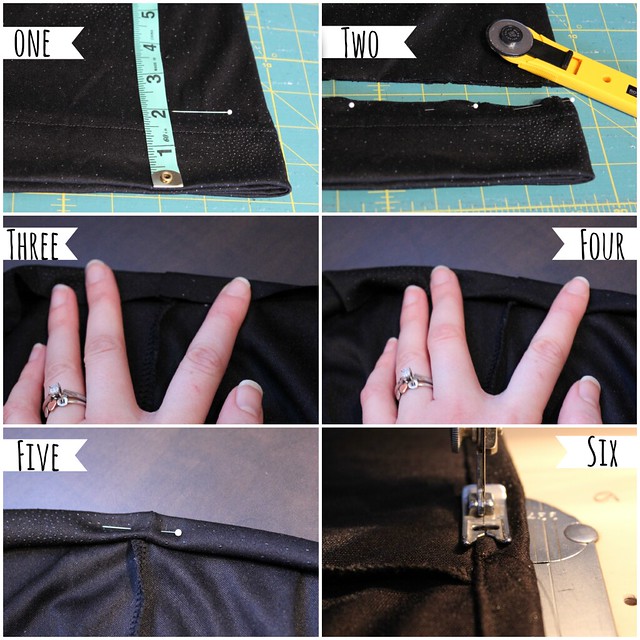
1. Measure 2 inches up from the bottom, and pin all the way along
2. Cut the bottom off, following the pins
3. Roll the hem about 1/2" up
4. Roll the hem another 1/2" up so that the raw edge is hidden
5. Pin the hem down
6. Sew the hem in place.


The dress was too wide, so here's what you do to take it in:
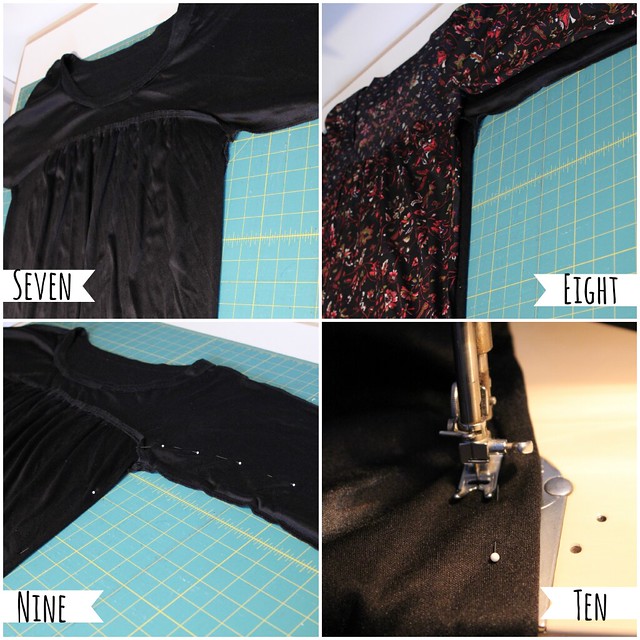
7. Turn dress inside out
8. Place another dress, in a similar style over top of the dress as a guide
9. Place pins as a guide to where you should sew
10. Sew just beside the pins on the side further from the edge.


I also cut the sleeve about 6 inches shorter, and added a cuff that I made.


Now that I've got the ball rolling on my re-styling projects, I'm really enjoying bringing them from start to finish, the final product is well worth the work :)

Saturday, February 16, 2013

Studio Secrets


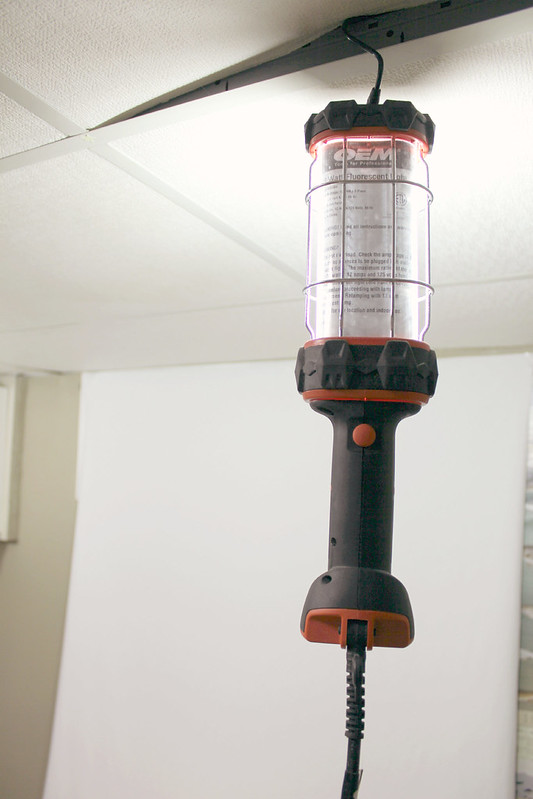
I was recently asked what I'm doing for studio lighting, so I thought I'd share a few 'secrets' (so to speak) with you.  So here's my DIY Photo Studio on a budget!


A friend of my husband's was using blackout fabric as a projector screen, and once he didn't need it anymore, I seized the opportunity!
Blackout fabric is the material used behind curtains to keep the light out-hence the name. It's fairly lightweight, and it can be washed in the washing machine and dried in the dryer.  You should be able to get blackout fabric at any fabric store, this piece was $15.


My lighting 'secret' is an interesting one, I'm using two utility lights from a farm equipment store (which happens to be owned by my father-in-law, but you should be able to get these at any hardware store).


I also recently bought a wireless remote for my camera, and I'm really happy with how my Etsy photos are looking using this setup.


I hope this is helpful, it's been frustrating trying to figure out good locations for Etsy photos, especially in the wintertime when outside isn't the best option and natural light is hard to come by.  
I also know how expensive real studio equipment is (I have access to one studio light, but you really need two to create a well-lit photo), so I made something else work!

There you have it!  Do you have any studio secrets?  I'd love to hear them!  If you have any other questions for me, visit my contact page for ways to get in touch :)

Monday, February 11, 2013

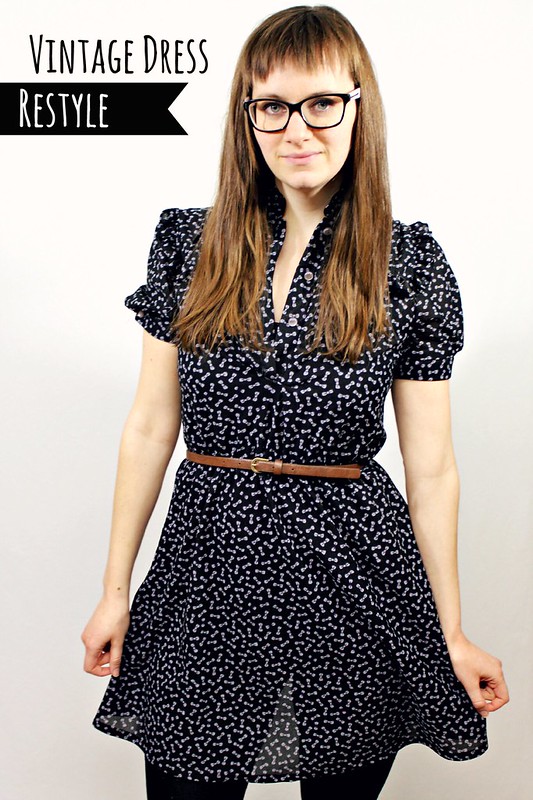
Project Restyle: Bow Dress


Today I'm sharing a Restyle Project! Hopefully this will be a reoccurring trend, I have TONS of clothing I've purchased at thrift stores thinking I would alter them, and I currently have 3 of my storage shelves FULL of these 'projects' waiting to be done.

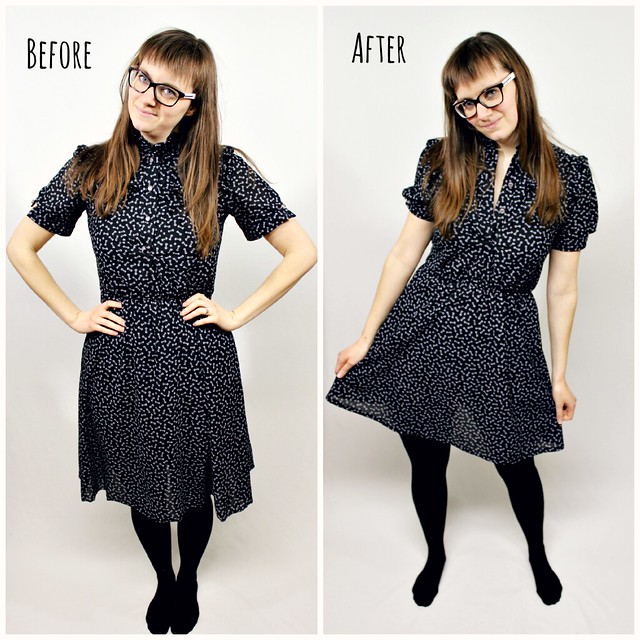
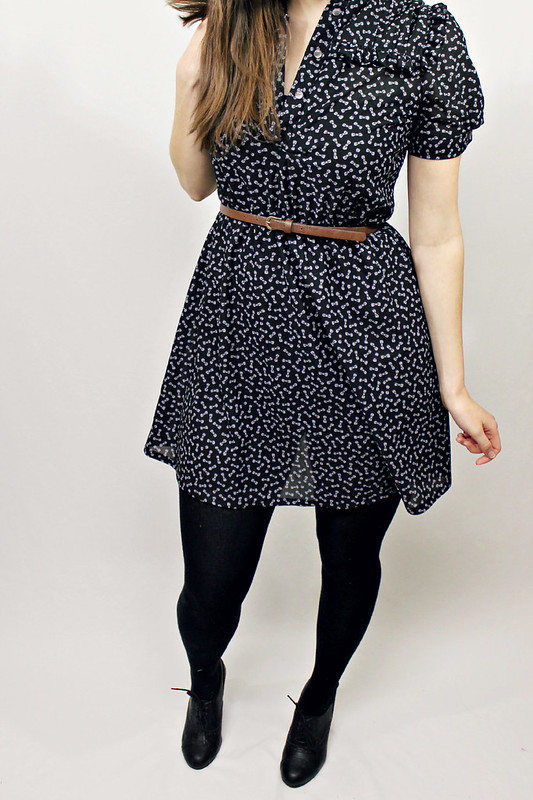
This week's project is a cute bow dress.  Here's the before and after!


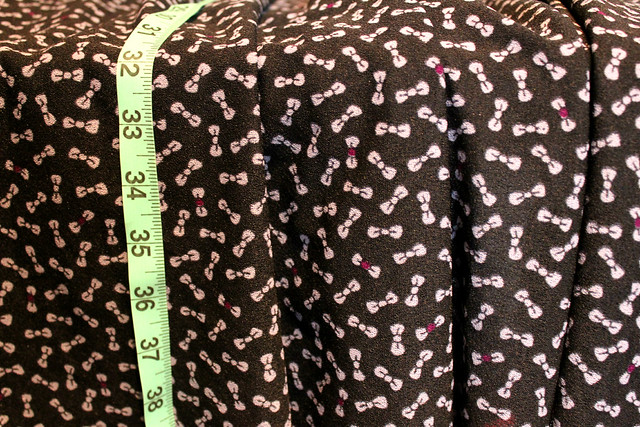
First thing I did was decide how much shorter I wanted it. I took hem allowance into consideration, and it came to 35" total.


Here's what I did:
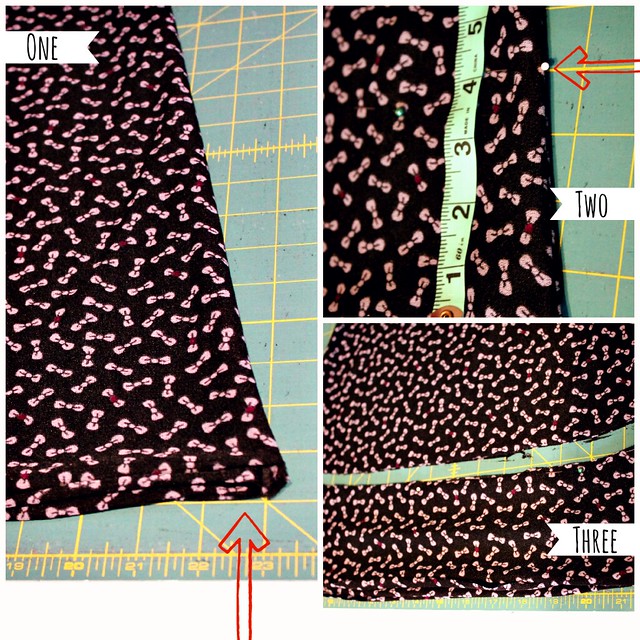
1. I realized that the dress kind of curved up on the sides, so I folded the dress in half
2. Because the hem was curved, I measured 4" up from the bottom at a few different spots and put a pin in as a guide for cutting.
3. Cut extra fabric off


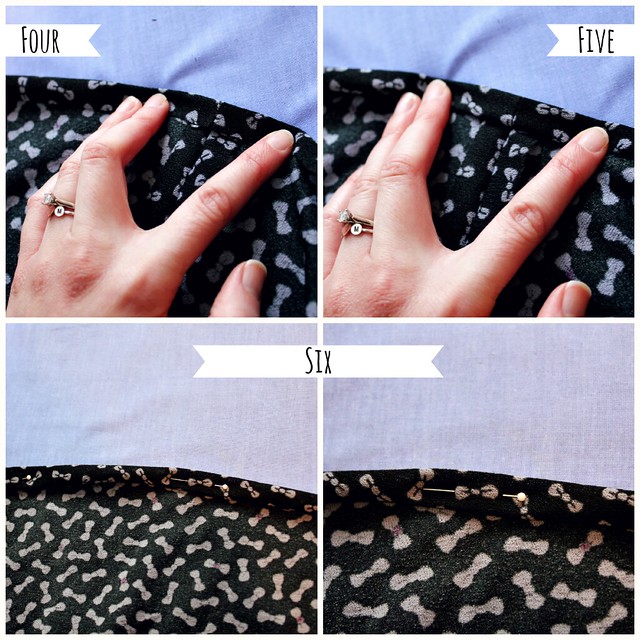
4. For the hem, roll bottom edge up about 1/2 an inch
5. Roll it over again so that you don't have any of the raw edges showing
6. Pin the hem down, one pin about every 3 inches


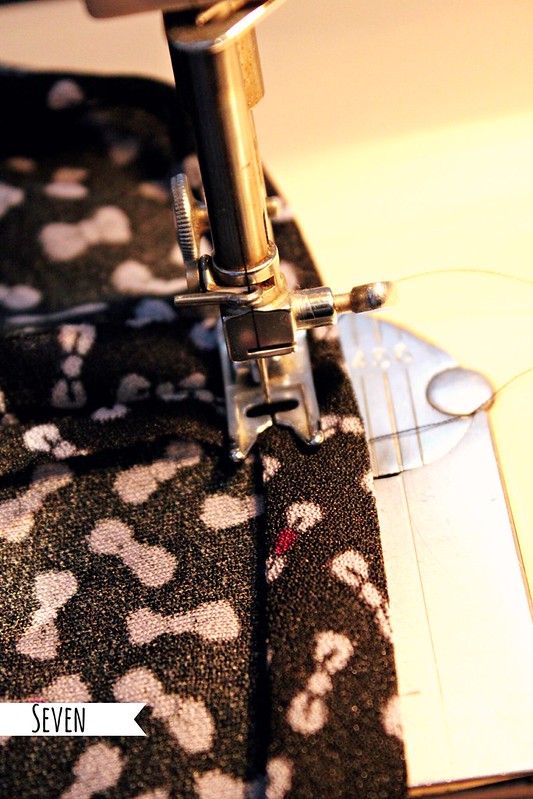
7. Sew down the hem


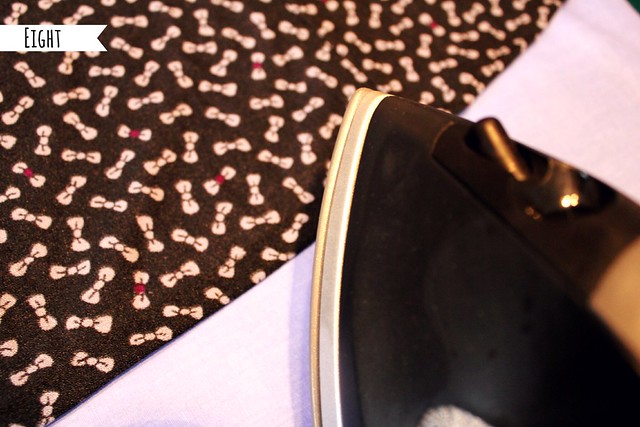
8. Iron hem to ensure it is straight


Voila!

Wednesday, May 30, 2012

Jewellery Display Tutorial


I have an exciting DIY for you today! I've been looking for a way to organize my jewellery, and I'd found some fantastic displays on Etsy, but they were all fairly expensive. So the other day my husband and I were at the thrift store and he found this little cabinet that is PERFECT!


Materials Needed:
1. Cabinet of choice from antique/thrift store or wherever you can find one!
2. Preferred size and quantity of screw hooks and screw eyes
3. Ruler
4. Pen or pencil
5. Pliers for twisting screws in if necessary


1. Purchase a small cabinet (I purchased this one at a local thrift store for $1.50!)
2. Two different screws: Screw Eyes for earrings (I used 1/2"), and Screw Hooks for necklaces (I used 3/8")
3. Measure along the top edge of the cabinet, and decide how many screw eyes you will want. I used 14 on top and 14 on bottom.
4. We divided the width of the top piece-where you want your screws to be-in half and drew a straight line. Then measure out intervals where you want your screws to go
5. Install the screw eyes. We found it works best if you hammer a nail into the spot a short way before attempting the screw eye to get the hole started.
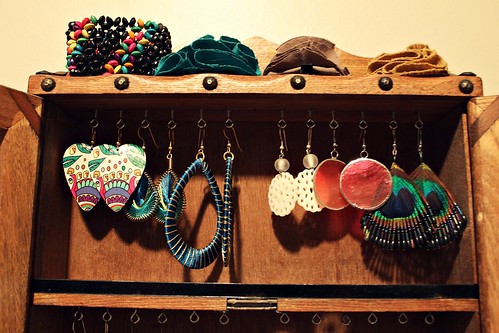
6. This is what it looks like once all the screw eyes are in place :)
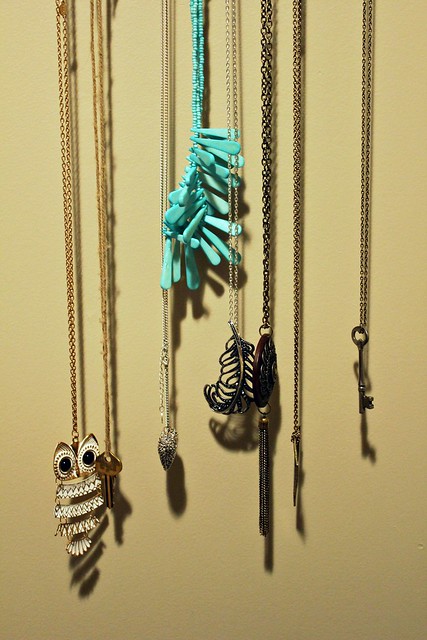
**Use Instruction #5 to install the screw hooks onto the bottom of the cabinet for necklaces.

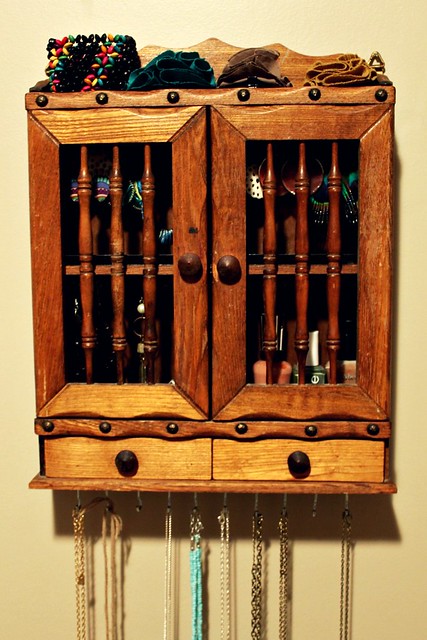
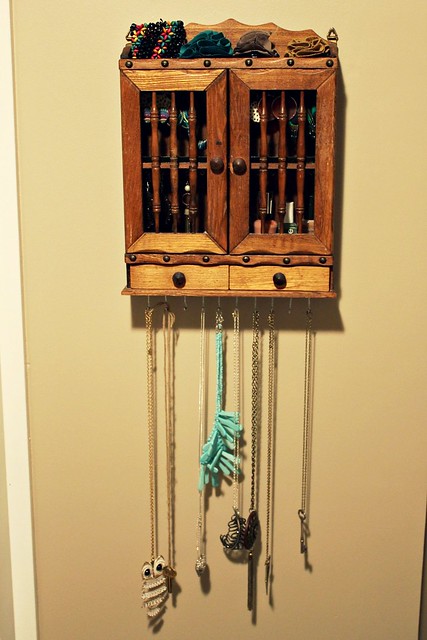
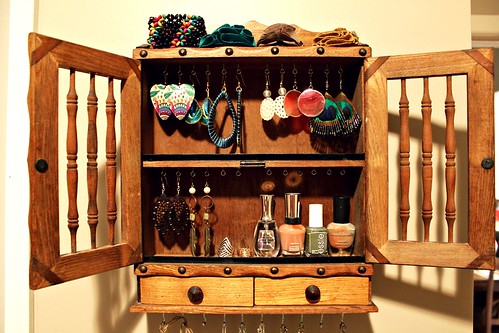
Here's how mine looks now!


Cute drawers good for storing bracelets, rings, etc.


I have do admit that my husband did most of the work, I snapped the pictures! (Thanks my dear, I love you!)

If you make your own, I'd love to see it! Put the link in the comments :)

Wednesday, October 26, 2011

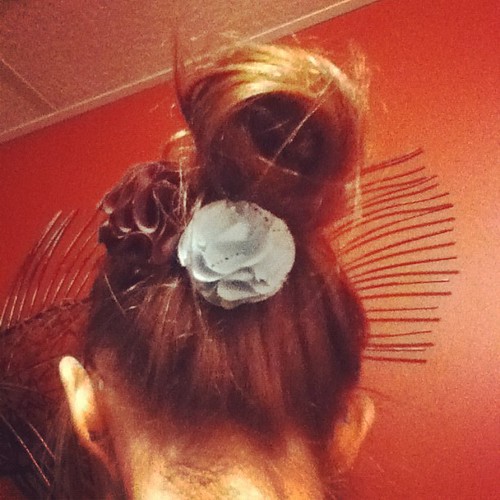
DIY: My Hair is a Bird's Next

Hey everyone, it's hairdo time!! A long time ago I found this tutorial for the bird's nest bun. I love it, I think it is so fun and probably one of my favorite up-dos. I haven't been able to make one so big yet, but I try.


So here's my tutorial for you!

1. Bend over. (Don't worry, there's more, silly!)

2. Put your hair in a super high ponytail, making sure to leave out whatever bangs you would like to have out of the ponytail.

3. Back comb sections of the ponytail-make sure you back comb all the way to the ends so that you get a lot of volume and fullness.

4. Wrap hair around ponytail like you would a bun-BUT-do it loosely so that you get a big bad bun instead a teeny weeny one. You maybe have to play around with it to get the shape you want.


*Optional-add cute hair accessories to the bottom 'corner' of the bun for some more pizzazz :)
Now go turn your hair into a bird's nest!